


Custom Acrylic 3D Lettering | Dimensional Wall-Mounted Logo Signs
Custom Acrylic 3D Lettering | Dimensional Wall-Mounted Logo Signs
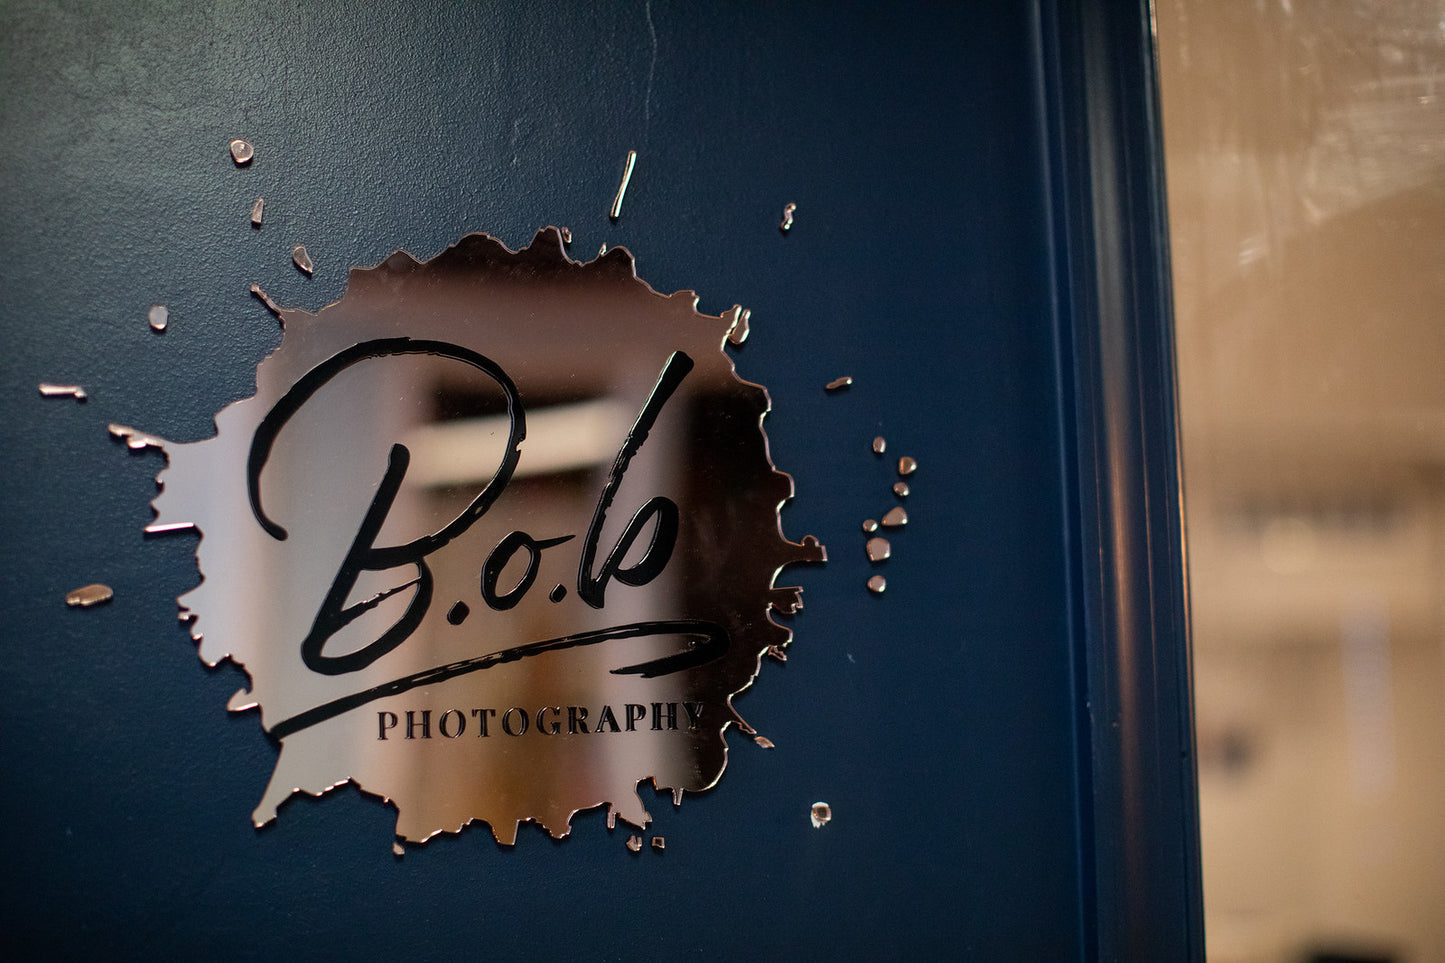
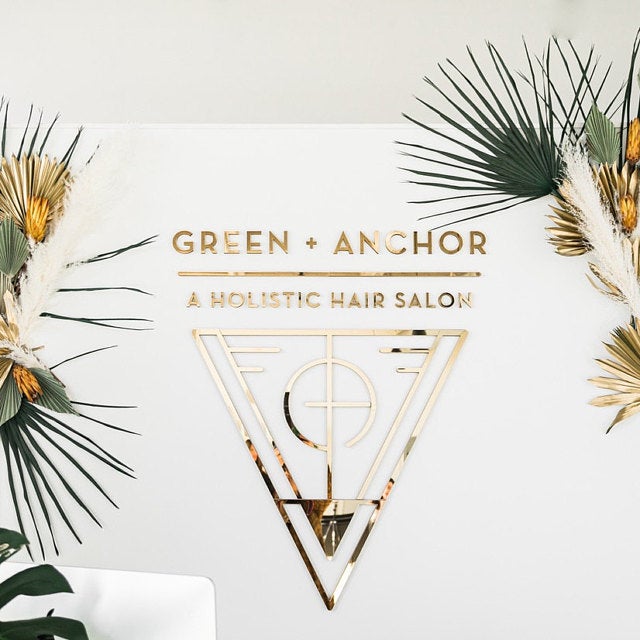
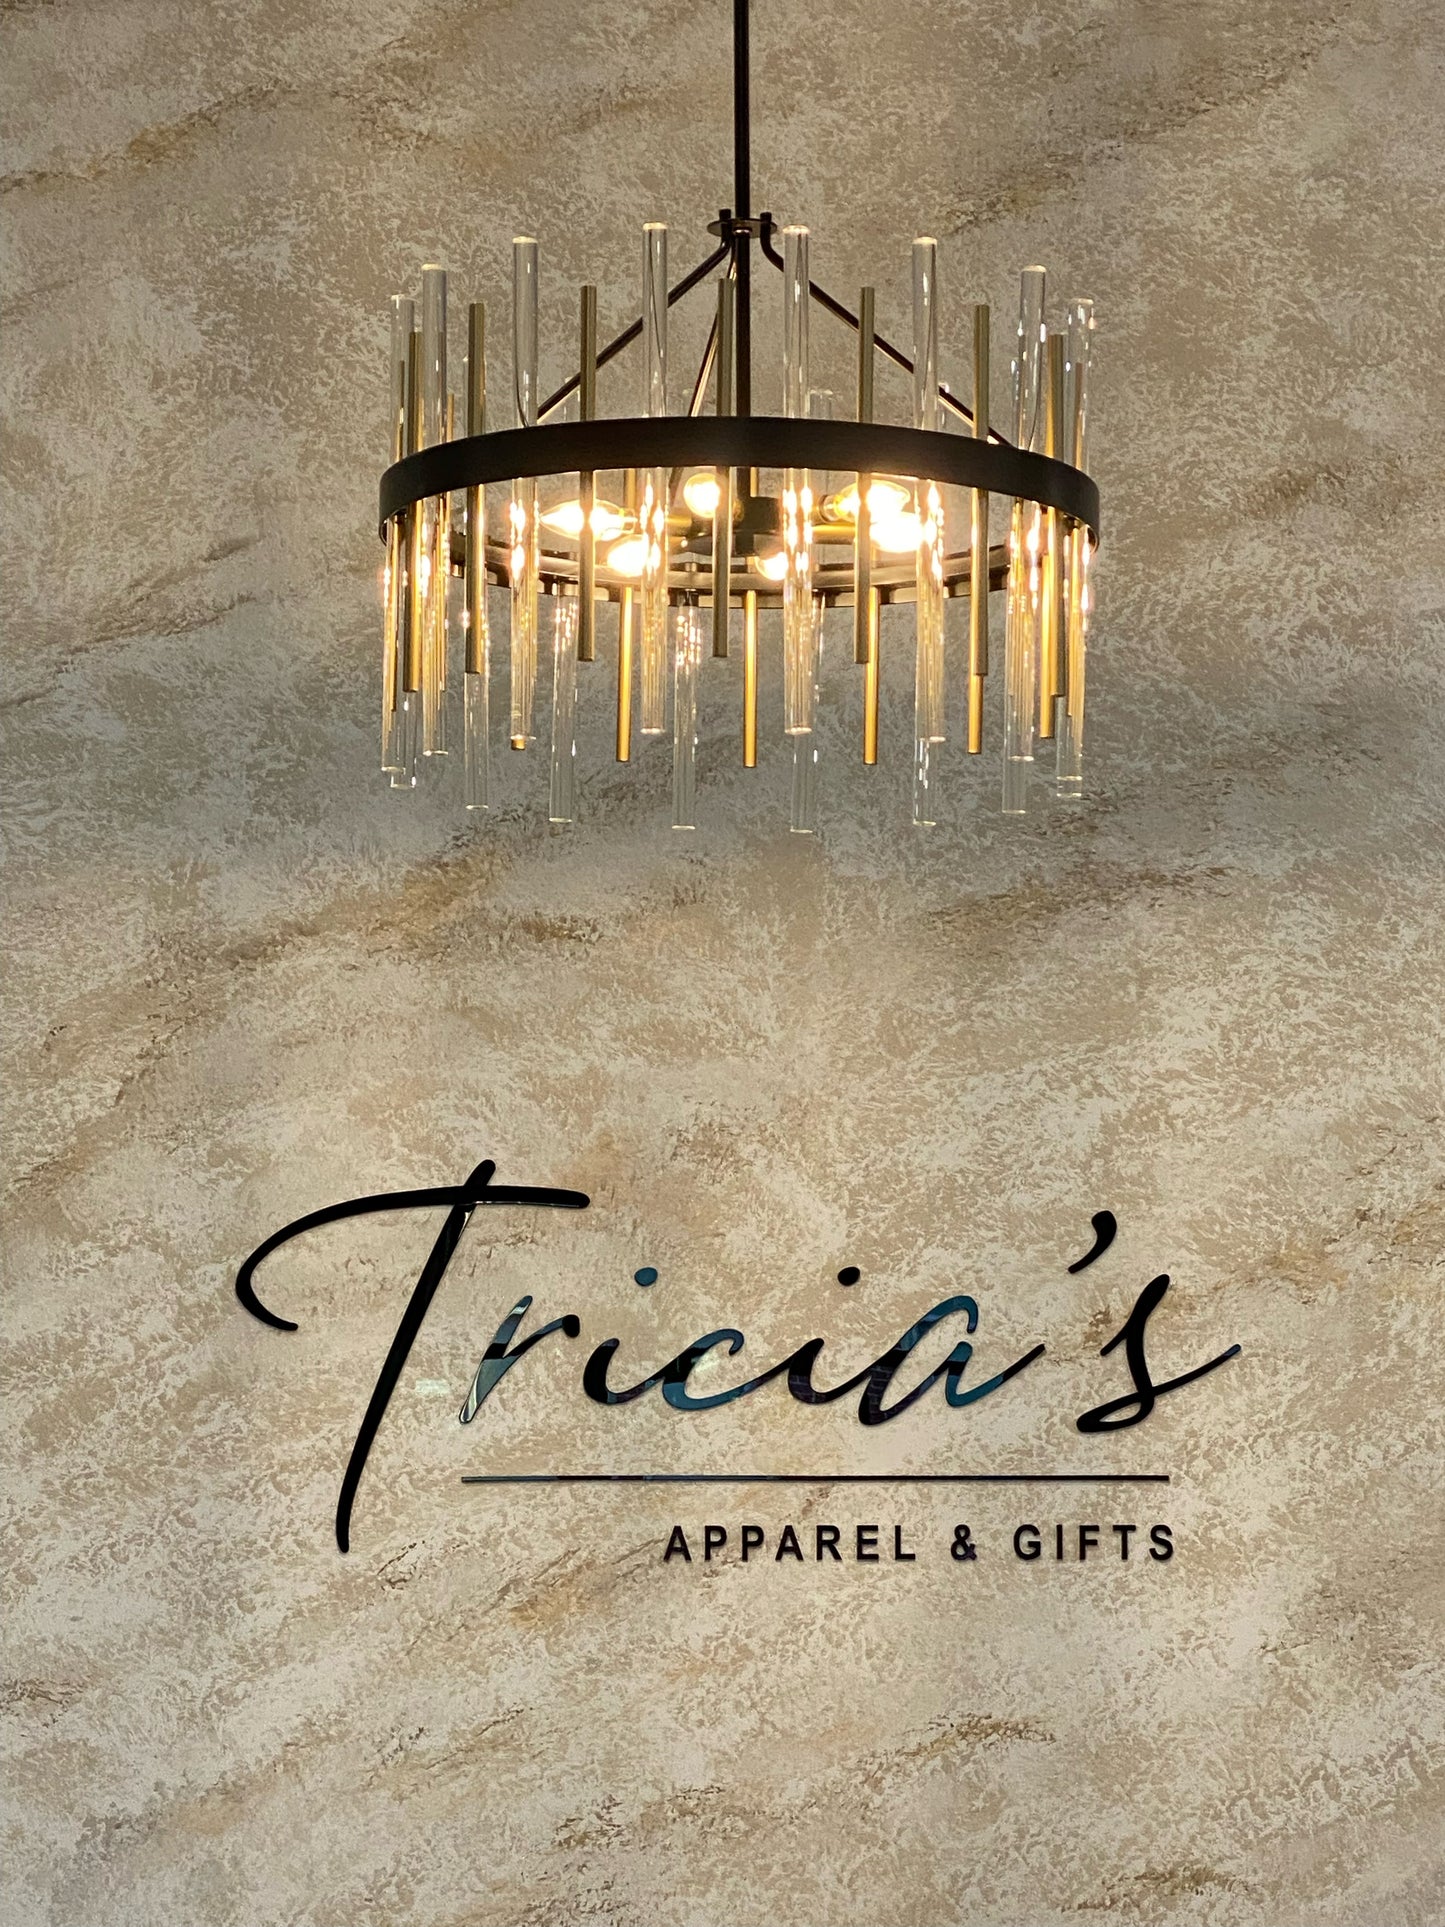
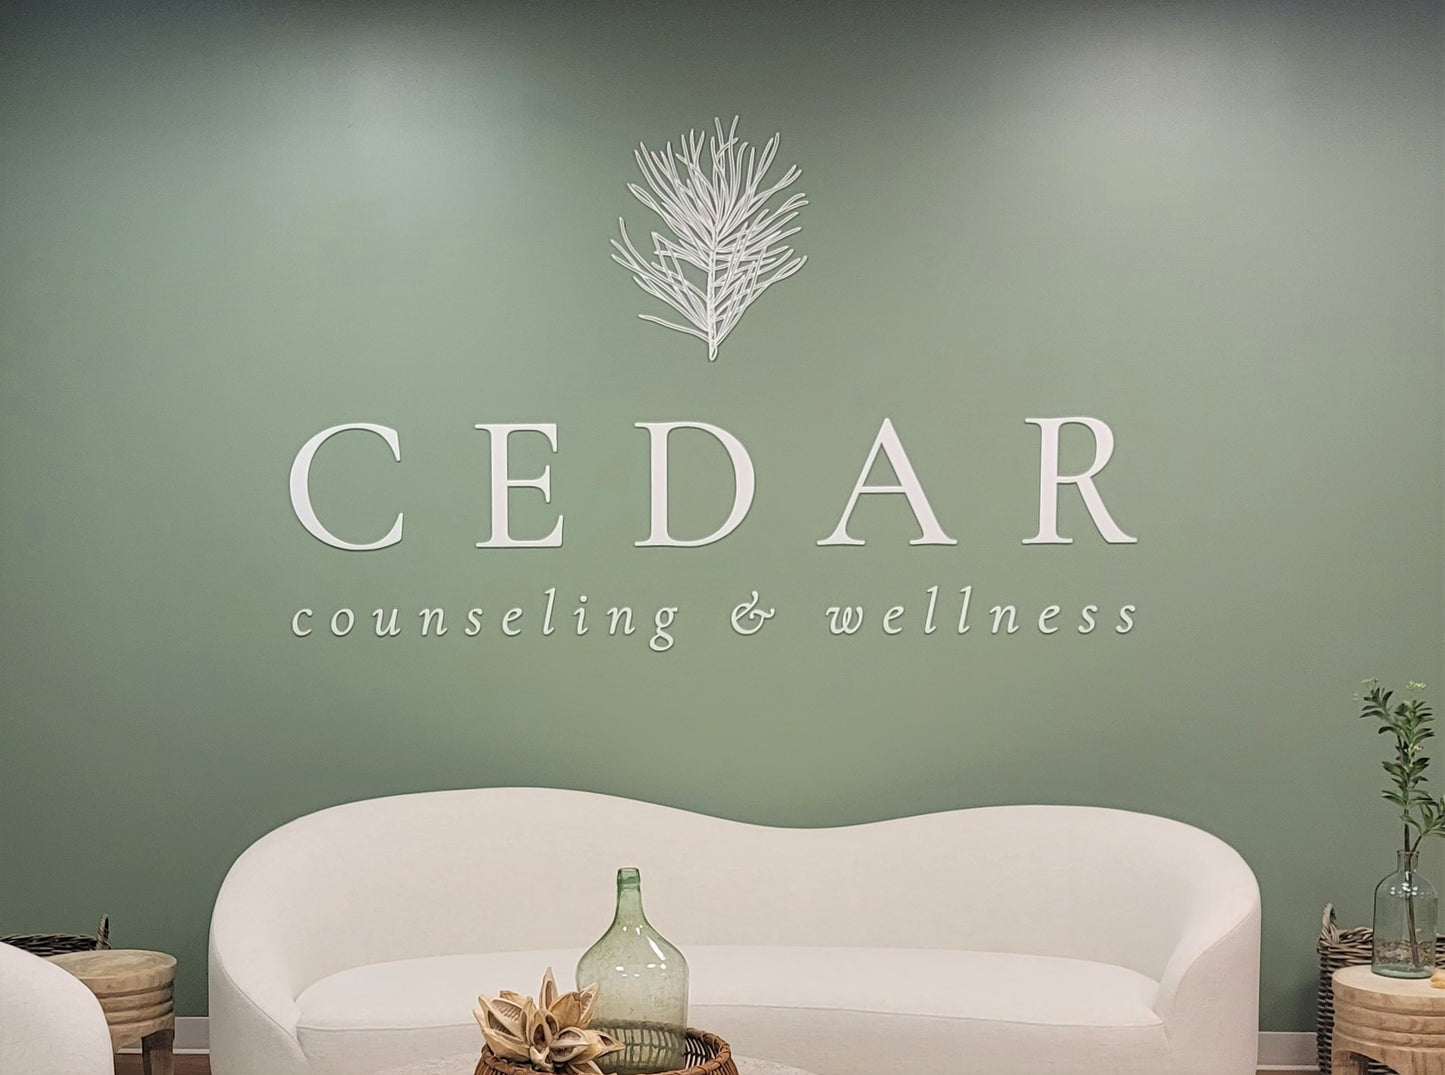
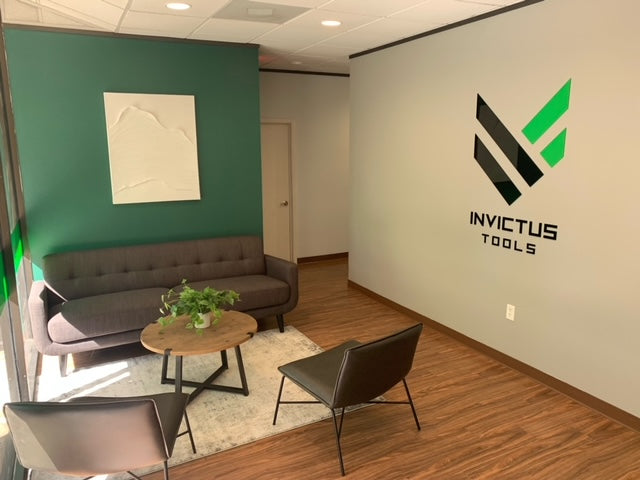
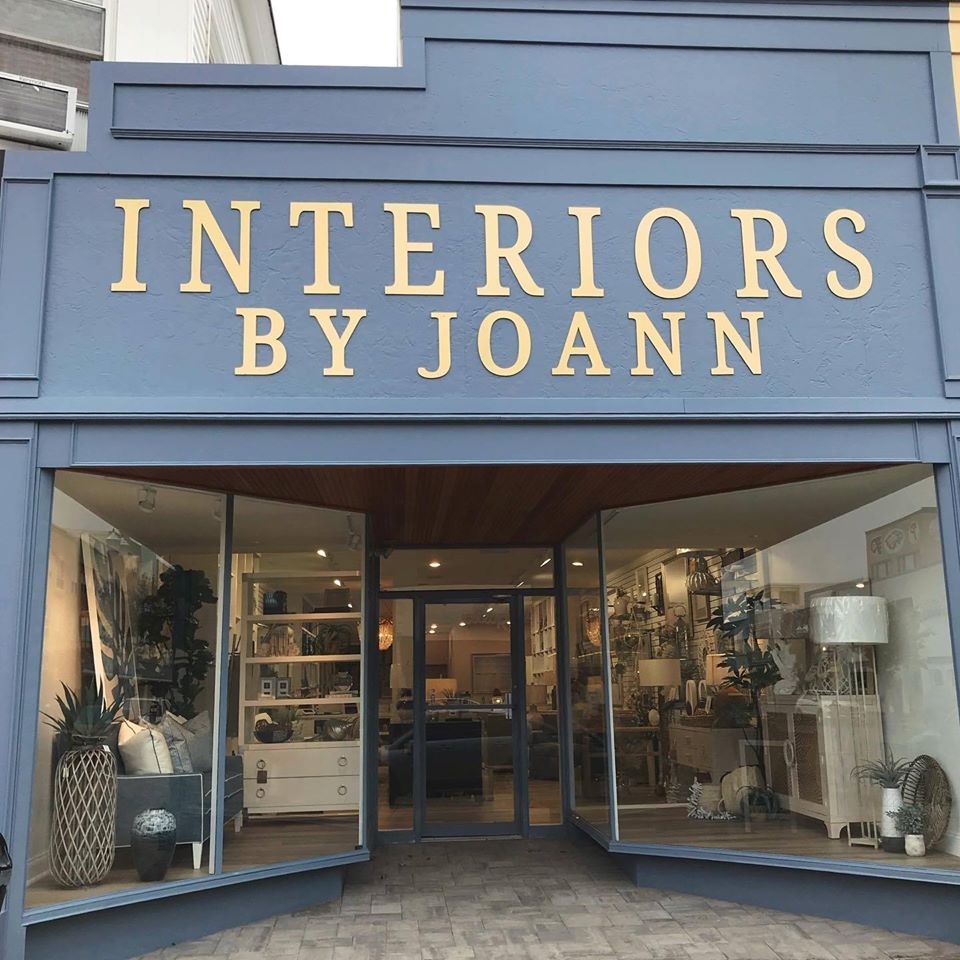
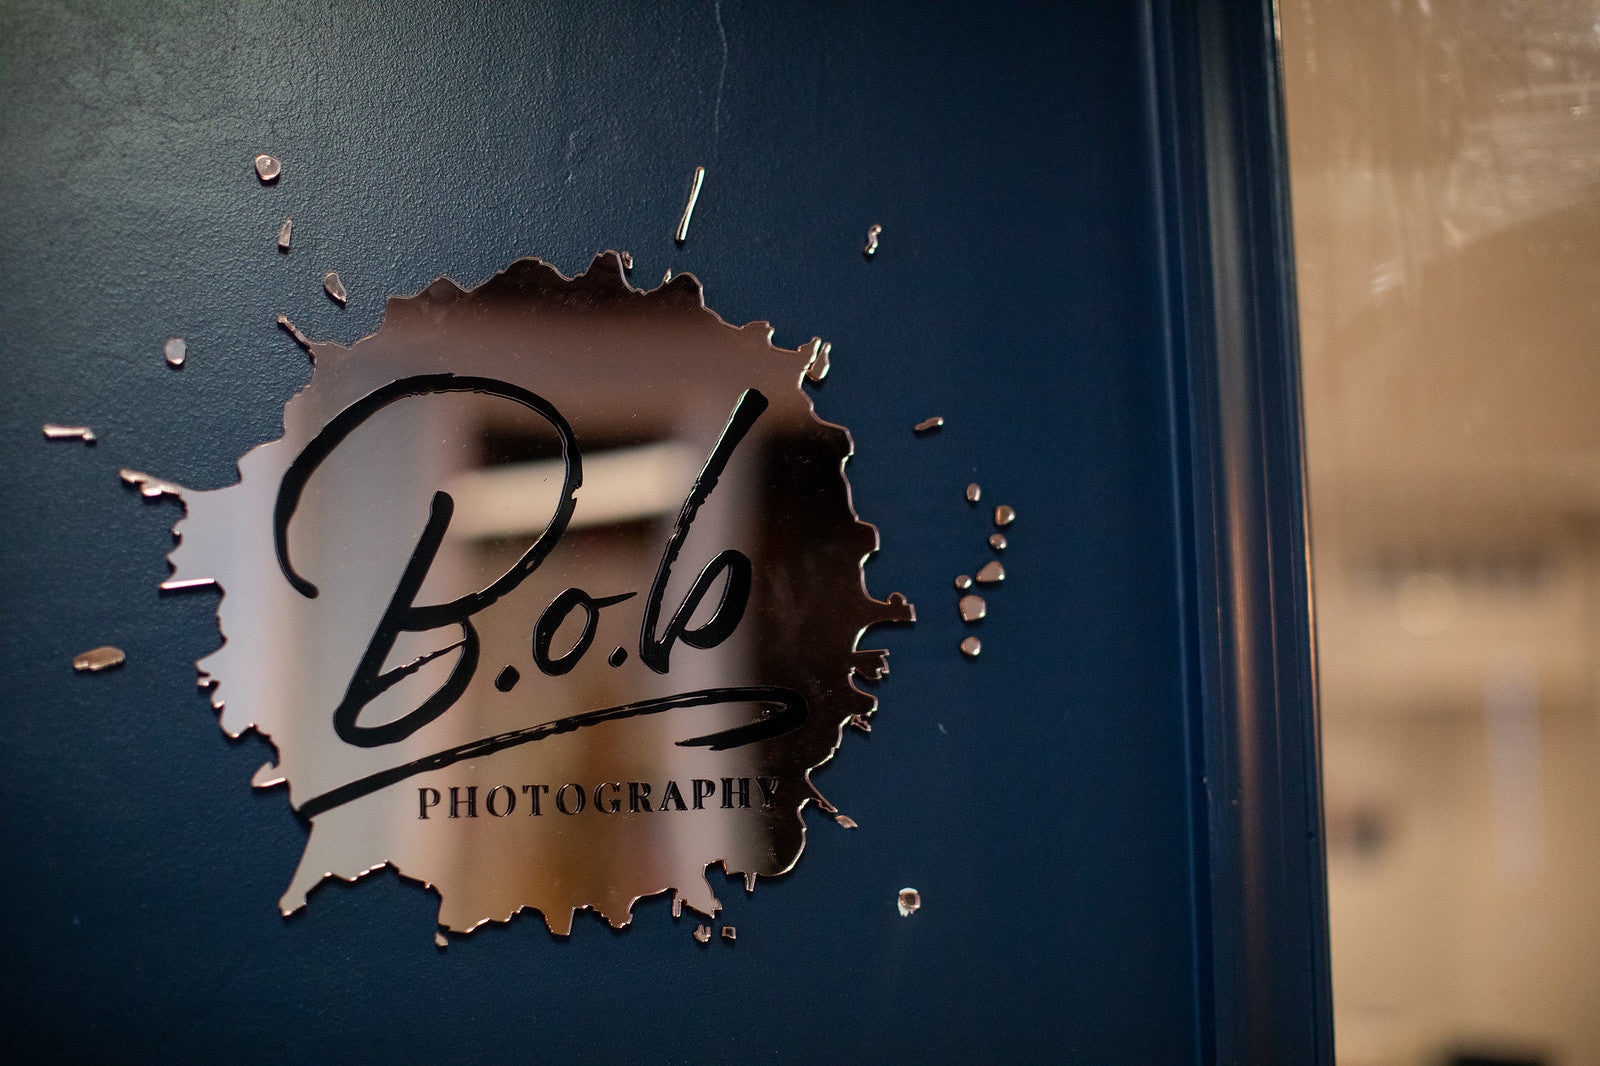
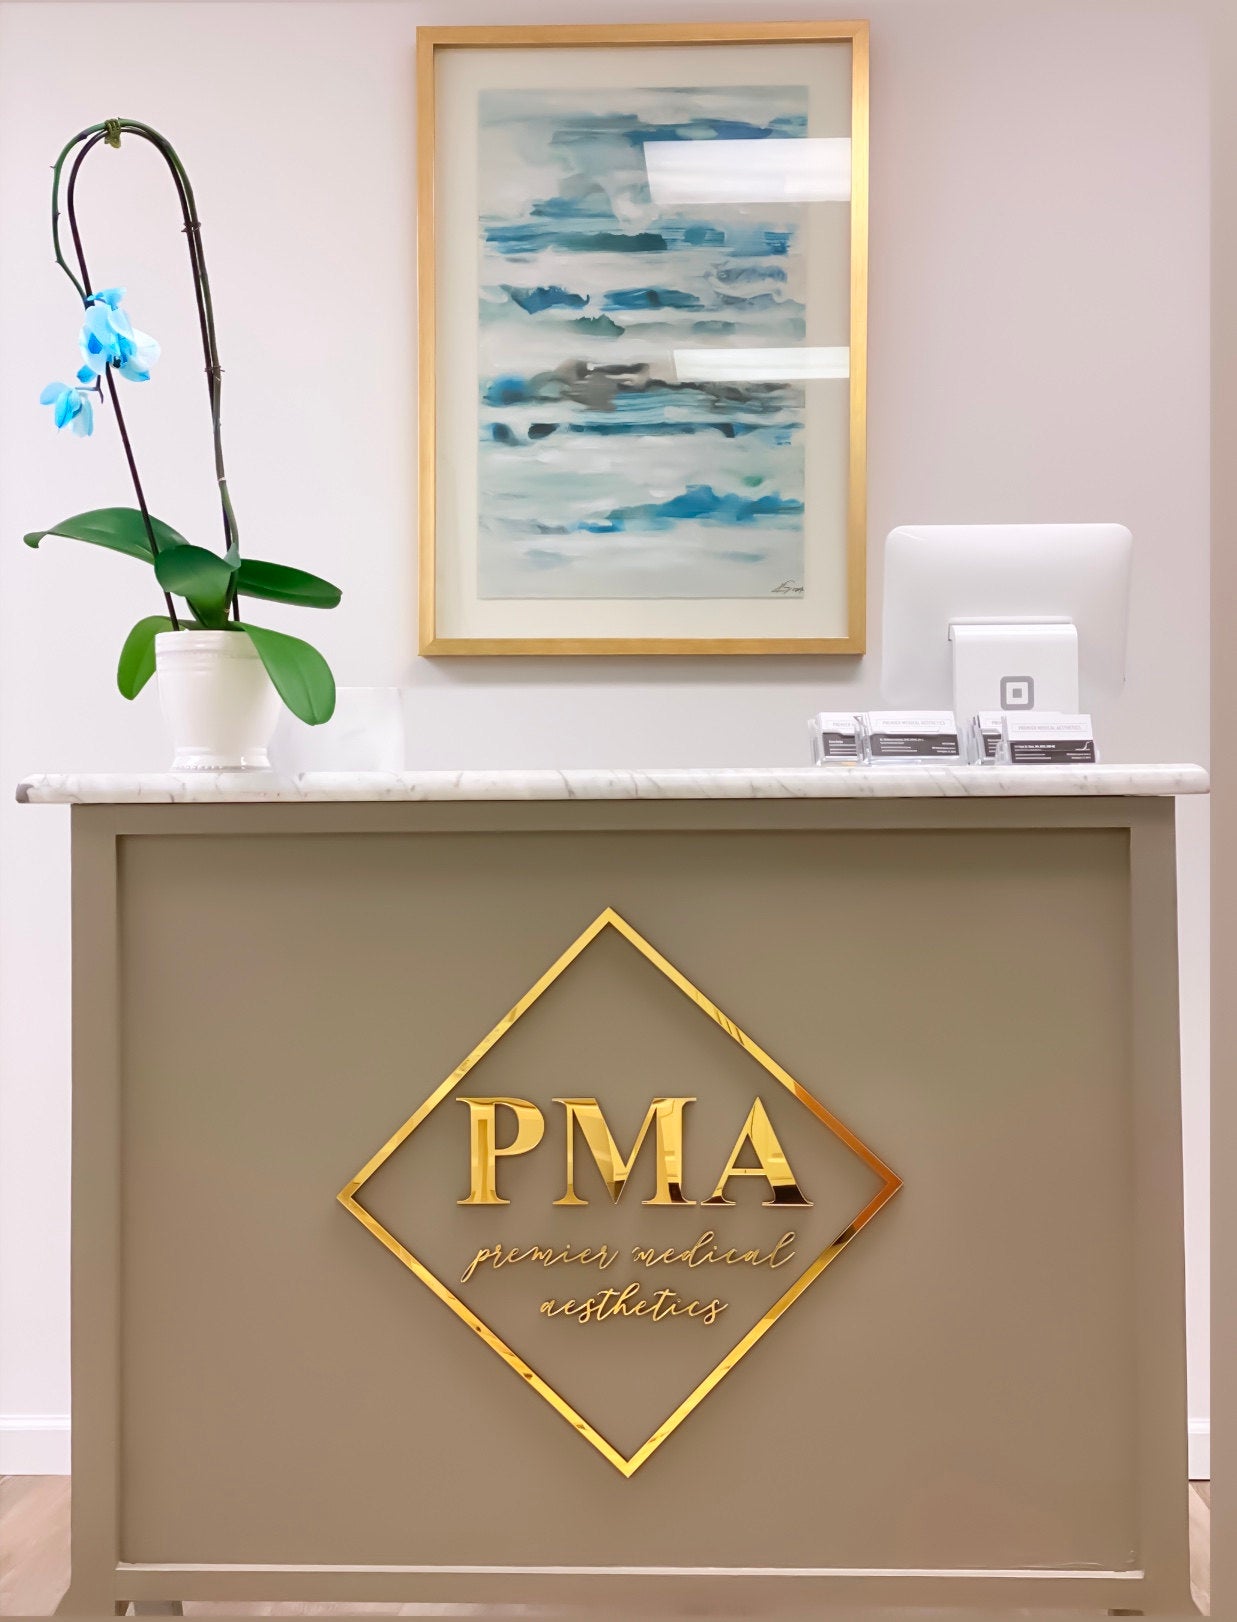
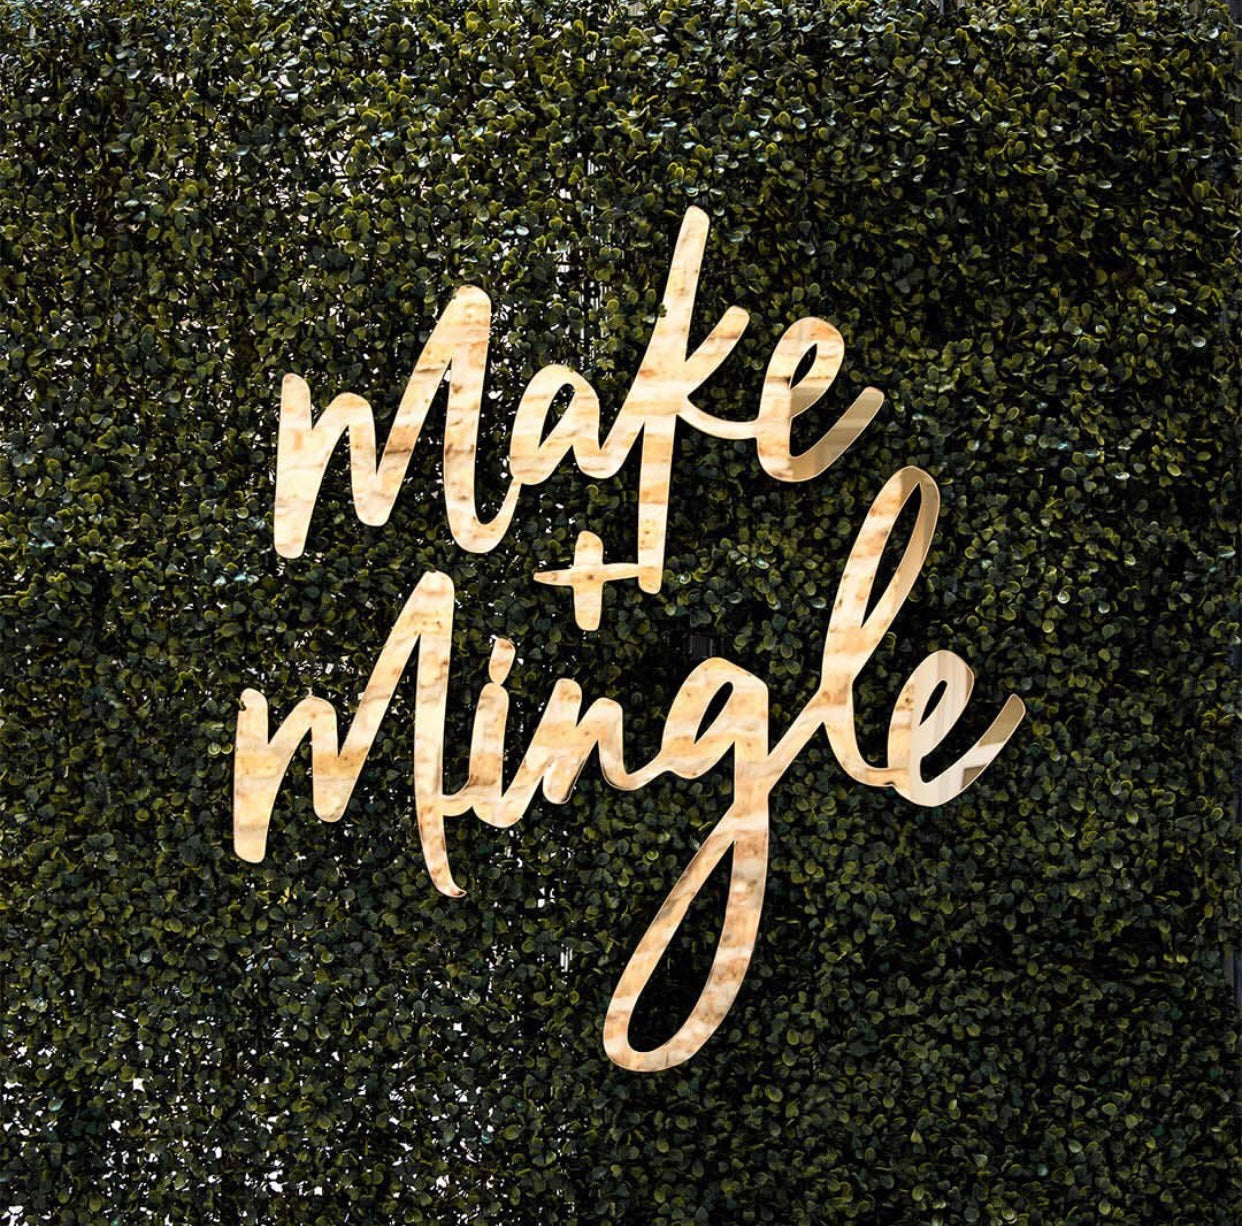
The Modern Standard for Professional Branding Transform your logo into a high-end architectural feature. Our Wall-Mounted Acrylic Lettering provides a clean, "floating" look that adds immediate authority to your lobby, office, or storefront. Available in standard, mirrored, and brushed finishes, these precision-cut letters offer a level of sophistication that flat vinyl or printed signs simply cannot match.
Crafted for Durability and Impact We utilize premium, optical-grade acrylic that is UV-resistant and color-fast. Whether you choose the deep gloss of solid colors, the sleek shimmer of metallic brushed finishes, or the high-impact reflection of mirrored acrylic, your brand will benefit from a 3D "pop" that catches the light and the eye of every visitor.
Product Specifications & Features:
| Feature | Details |
| Material | Premium UV-Resistant Acrylic (Standard, Mirrored, or Brushed) |
| Thickness | 1/8” or 1/4” (Stackable for extra depth) |
| Environment | Indoor & Outdoor Rated |
| Mounting | Laser-Cut Stencil + Heavy-Duty Double-Sided Transfer Tape |
| Customization | Any custom shape or font based on your logo |
| Production | Precision Laser-Cut & Hand-Finished in the USA |
For both exterior and interior use.
Frequently Asked Questions
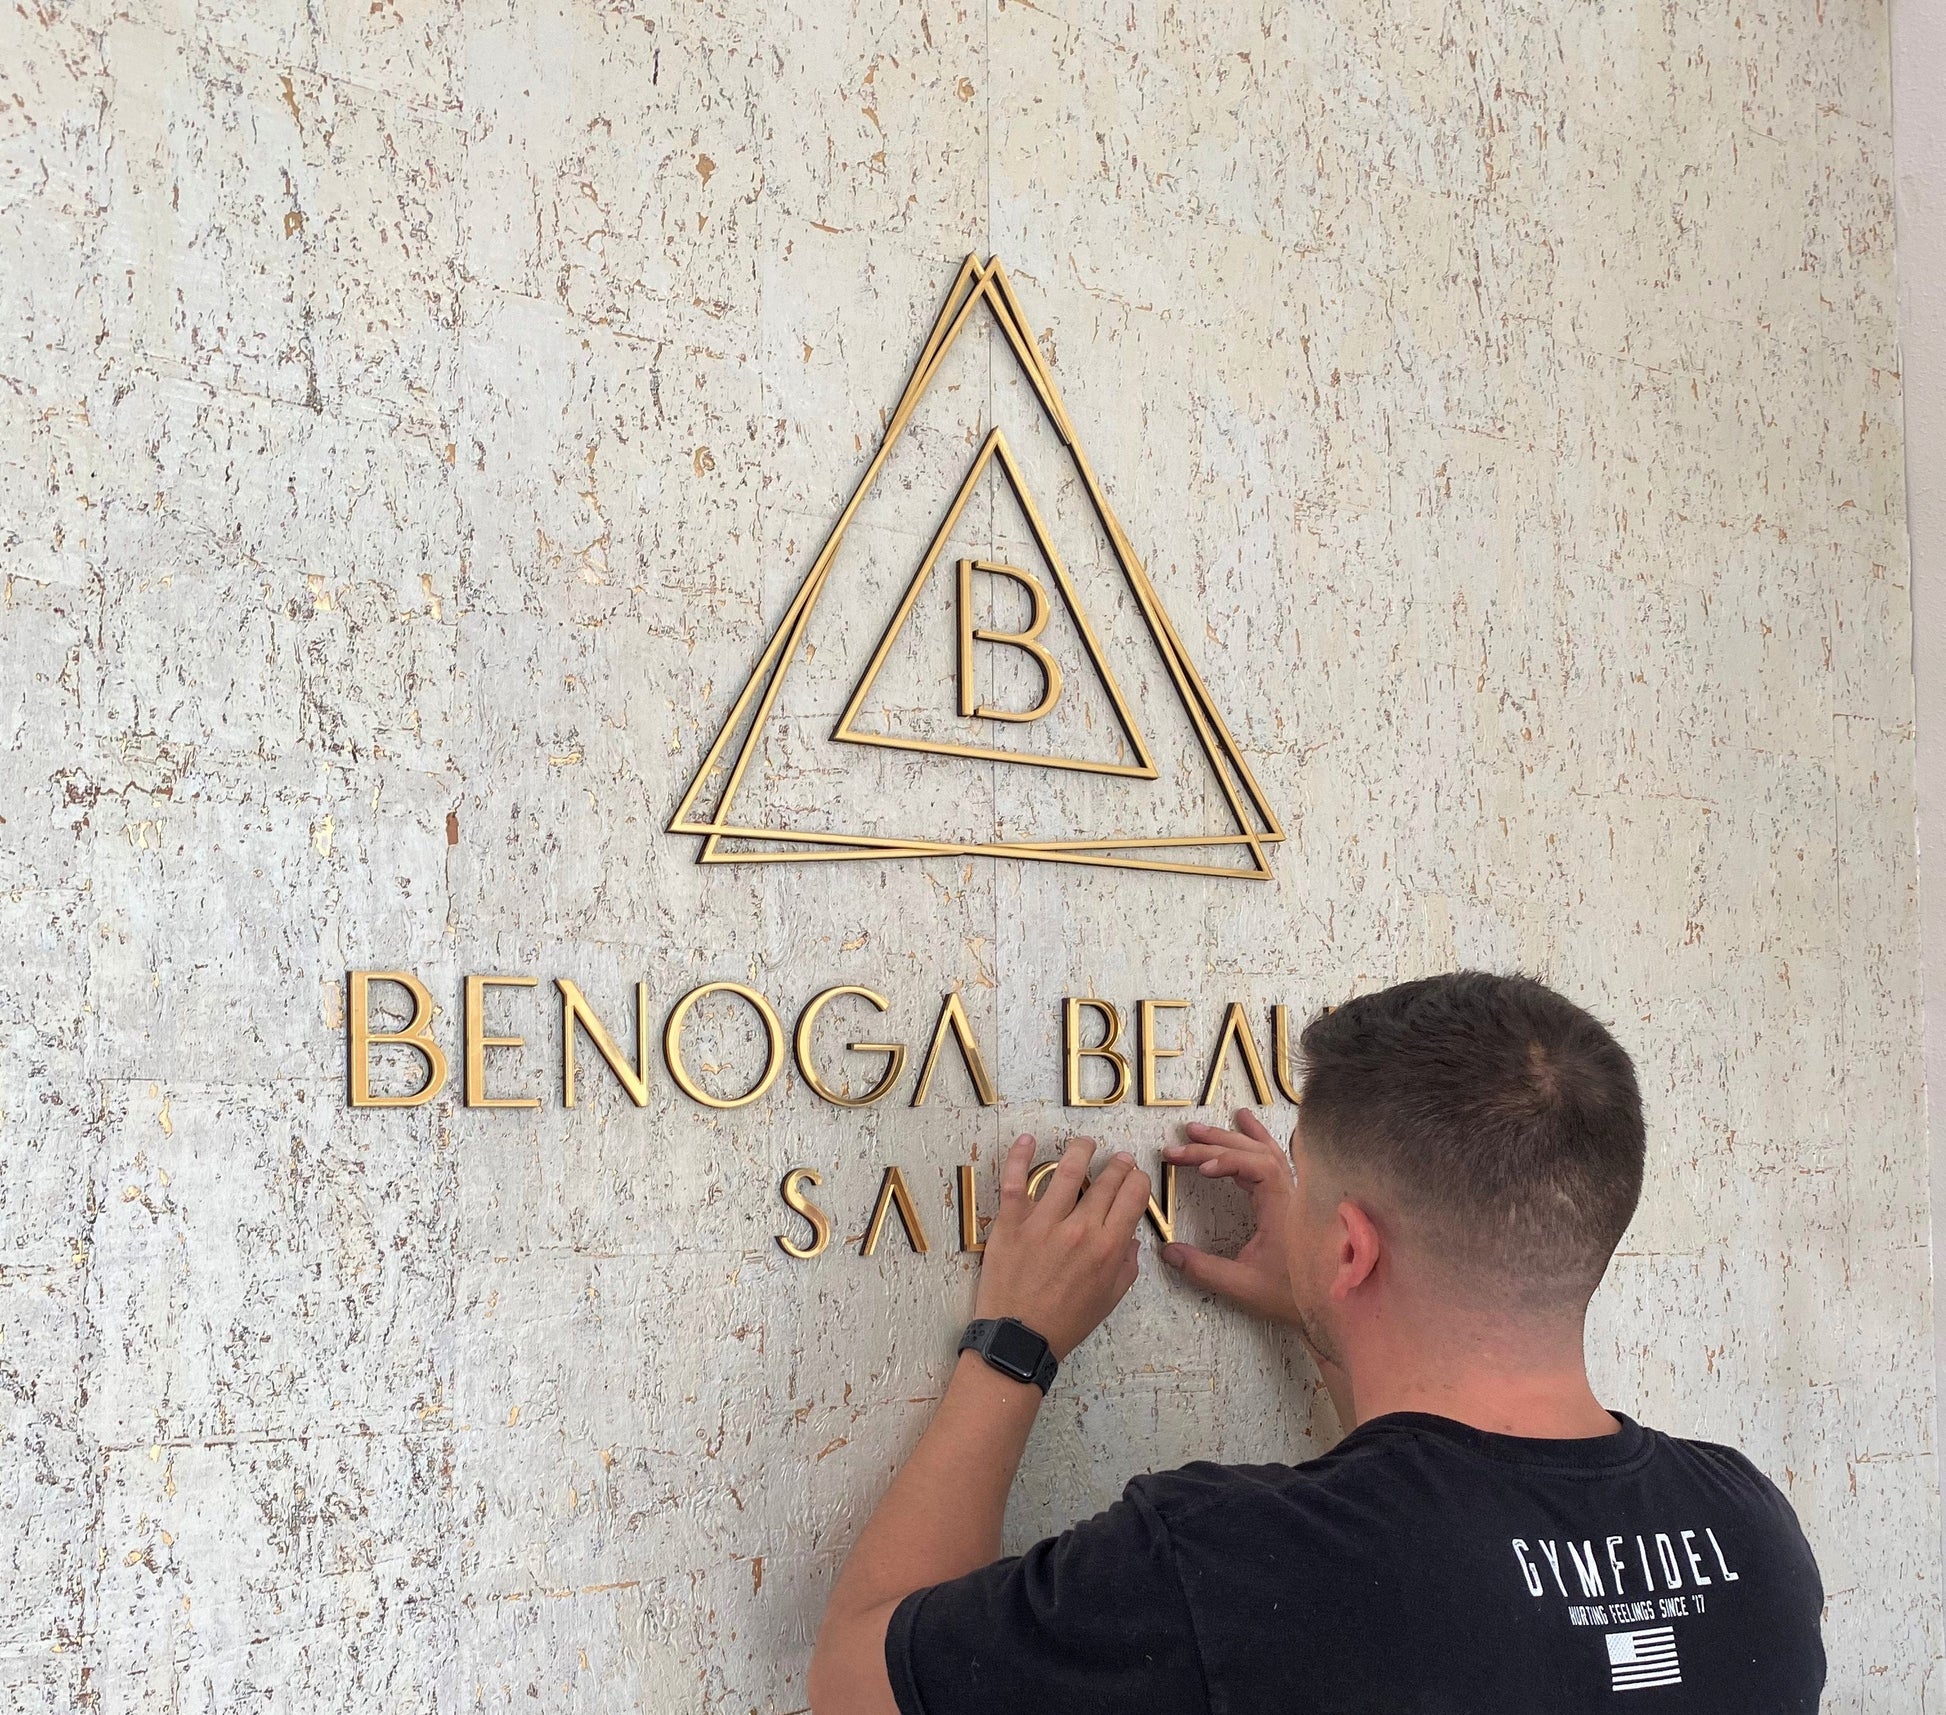
Q: How do I install individual letters without them being crooked?
A: Every order includes a full-scale laser-cut mounting template. You simply tape the template to the wall, level it, and place the letters into the designated cutouts for a perfect, professional alignment every time.
Q: What is the difference between "Mirrored" and "Brushed" finishes?
A: Mirrored acrylic has a highly reflective, glass-like finish (ideal for high-end luxury looks). Brushed acrylic has a subtle, directional texture that mimics the look of solid metal, which is excellent for modern corporate offices.
Q: Can these letters be used outdoors?
A: Yes. Our acrylic is UV-stable and weather-resistant. For outdoor applications, we recommend our heavy-duty mounting tape or stud mounting to ensure long-term durability against the elements.
Q: Can you do multi-colored logos in acrylic?
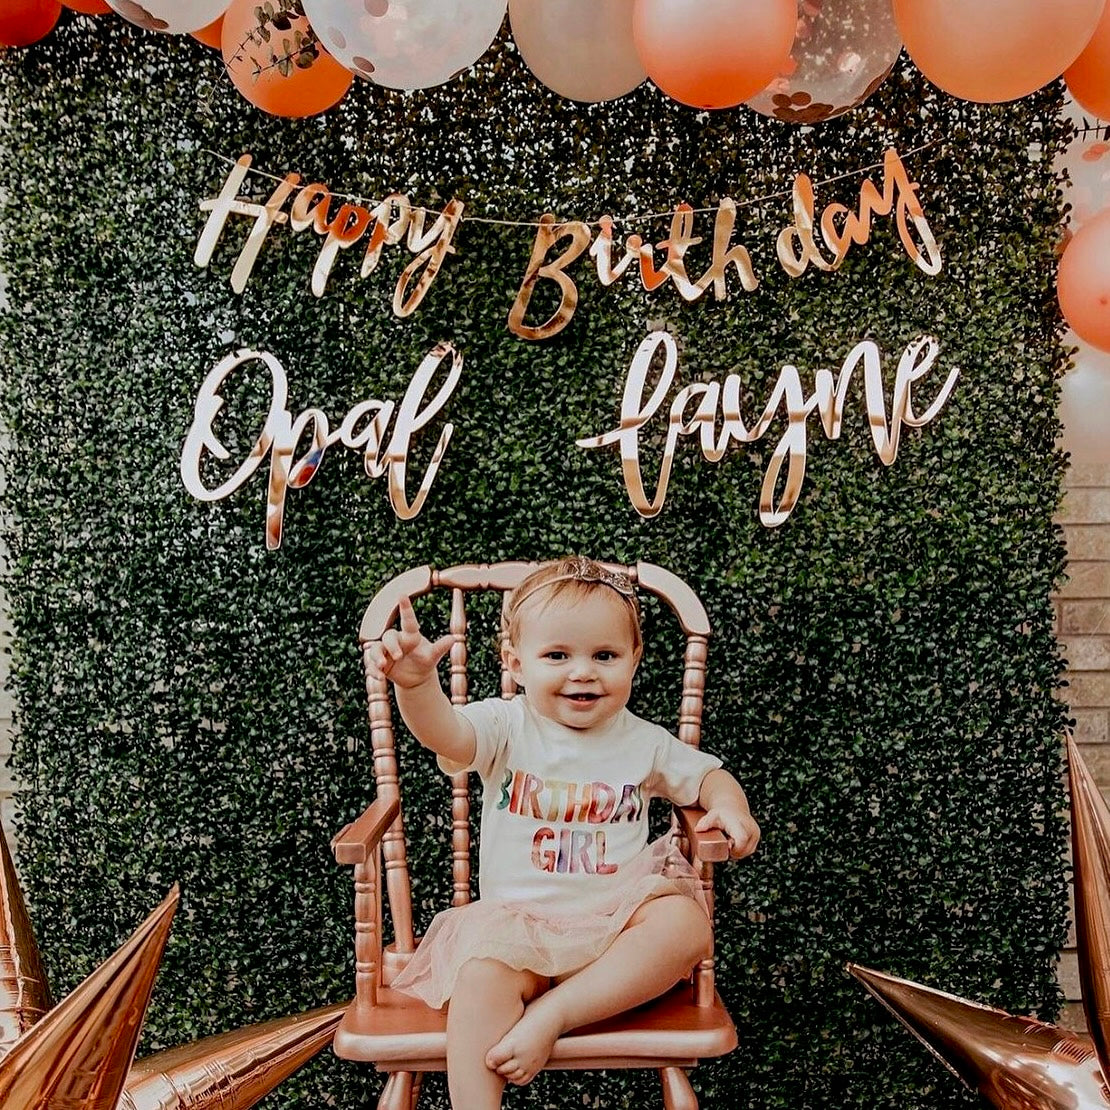
A: Absolutely. We can source specific acrylic colors or custom-paint the back of clear acrylic to match your brand's exact Pantone or HEX codes.
Couldn't load pickup availability
How To Order
How To Order
We offer 1-on-1 personalized experiences to all of our clients. To begin the ordering process:
1. Select your size, color, and hardware customizations from the menu above. Not 100% sure what you like? Start with your favorite options for now.
2. Upload your logo or graphic (if you have one). Vector files (.ai .eps .pdf .svg) are preferred. We can also work with a different file type with high resolution
3. Once you have placed your order, one of our customer experience specialists will reach out to you via email within 1-2 business days to answer and questions and finalize details.
4. Then, we will create a digital proof of your sign for review. If you were unsure about any of your customization options at checkout, this is the time where you can adjust, compare, and make your final decision. We will not laser cut anything until the design is approved.
Materials
Materials
Standard or specialty acrylic (available in brushed, mirrored, glossy, or matte finishes). All of our lettering materials come in either ¼” and 1/8” thicknesses, which we have the ability stack to different depths based on size and design.
Mounting Instructions
Mounting Instructions
A laser cut stencil is included with every order to easily and accurately mount each piece per your design.
1. Use masking tape, painters tape, etc., to tape the laser cut stencil to your wall or mounting surface.
2. Each piece of your logo is laser cut with thin, heavy duty, double sided transfer tape. This tape provides a secure and long-lasting hold. Remove the protective film from the back of your logo piece.
3. Mount the piece in the appropriate stencil spot. Repeat with all pieces.
4. Remove the stencil from the wall or mounting surface.
NOTE: If your wall has texture to it, you will need to reinforce the pieces with glue.