


Acrylic Backing - Wood Lettering
Acrylic Backing - Wood Lettering
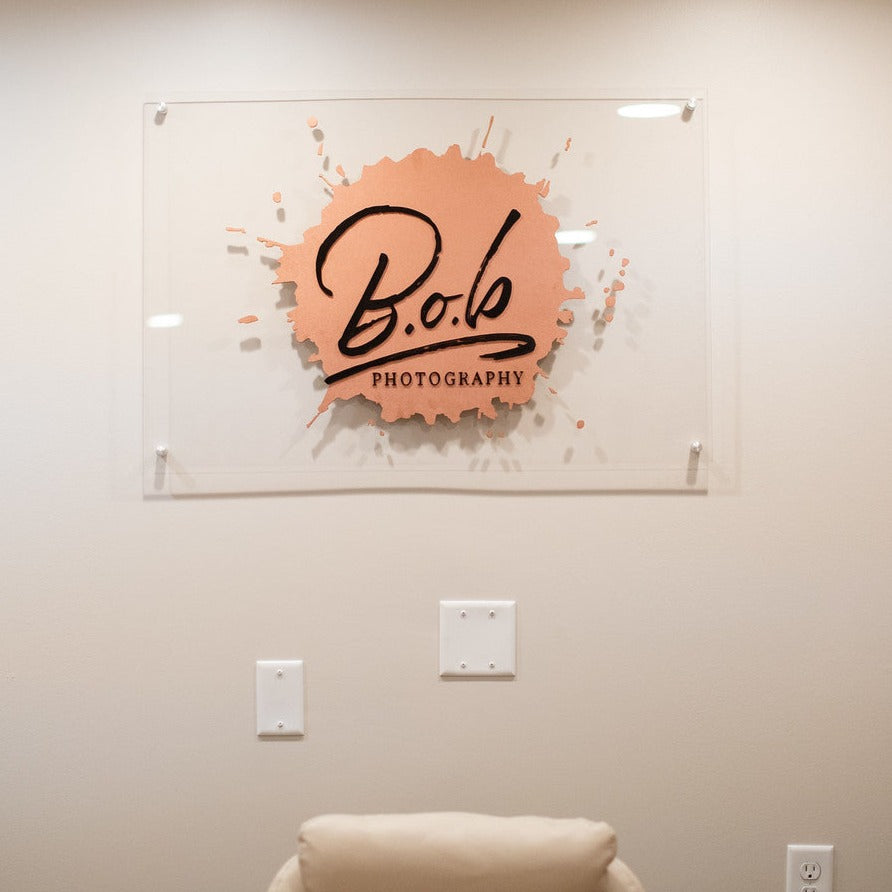
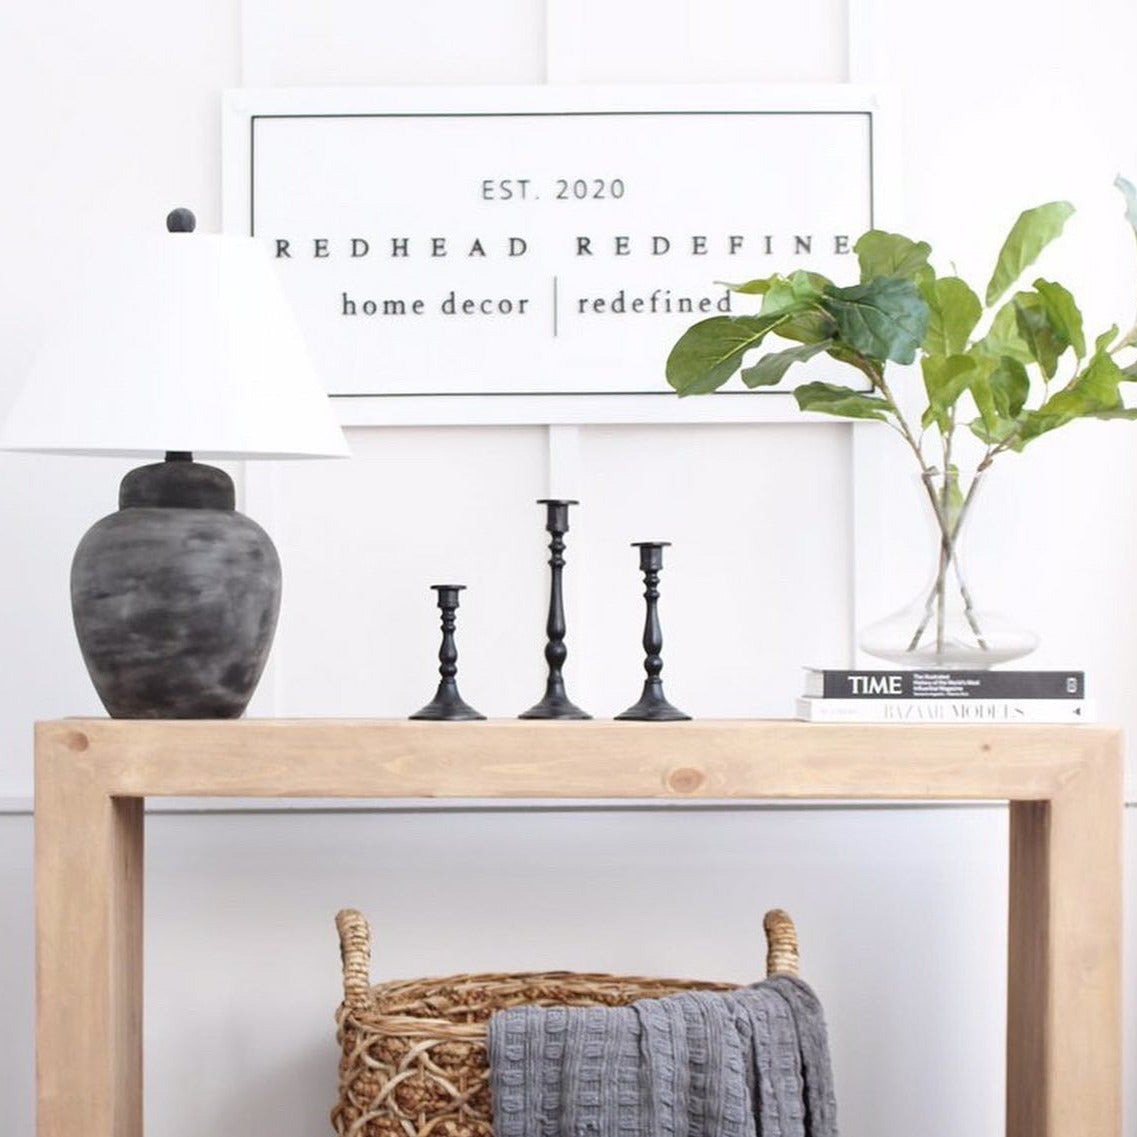
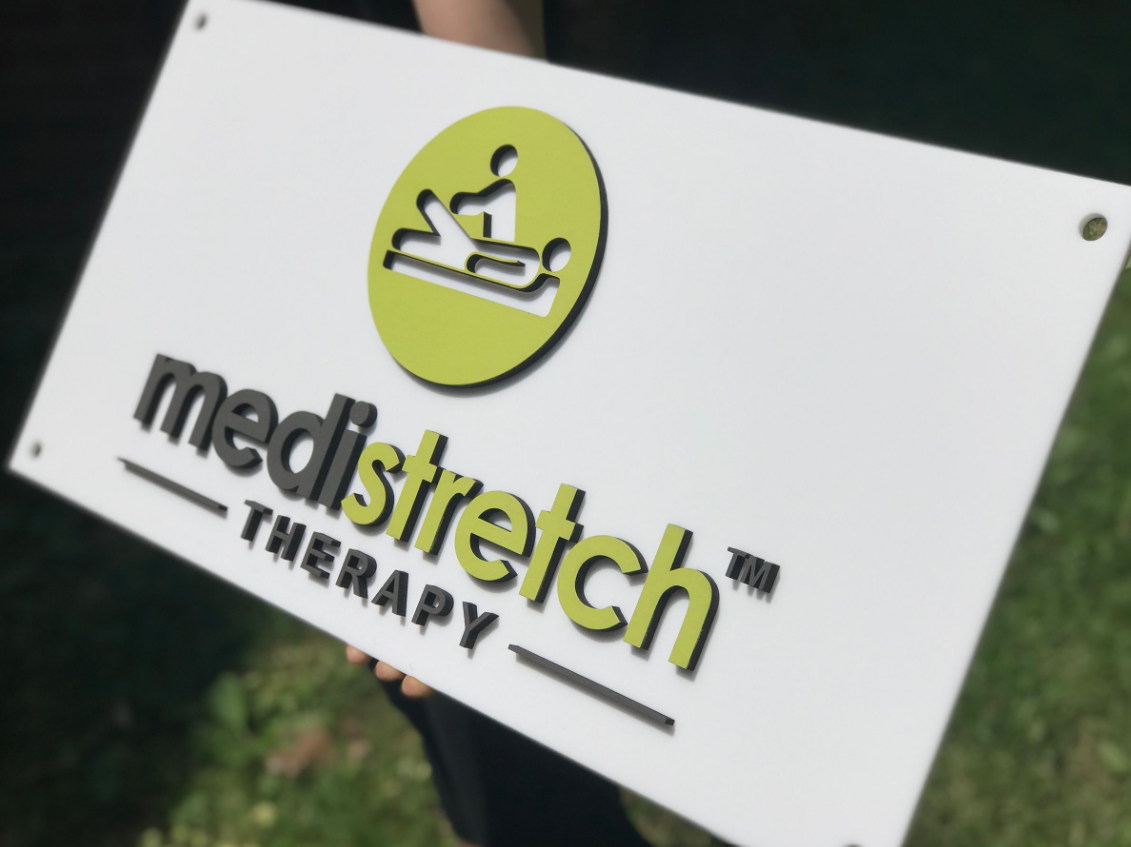
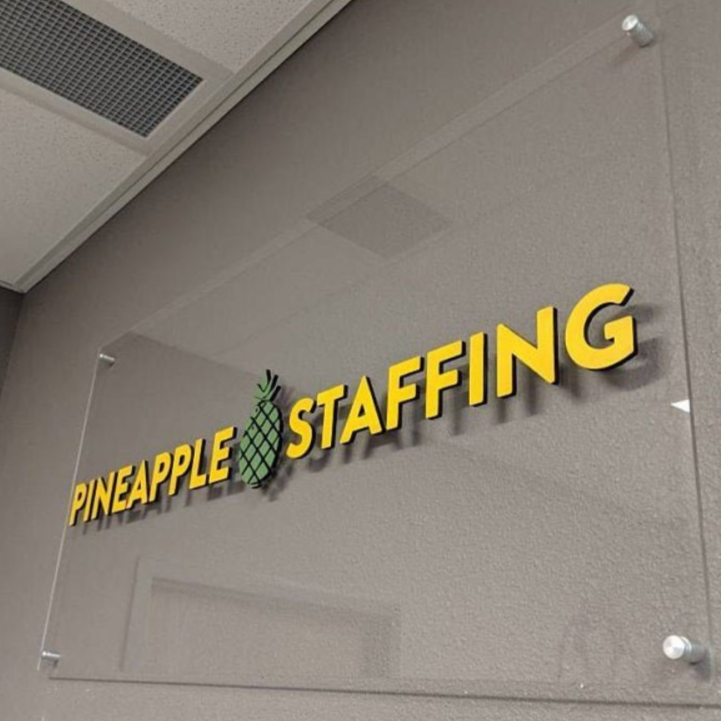
First, we laser cut your 3D logo from 1/4" MDF wood material and paint the pieces any color of your choosing. We have both standard options and custom colors available! \
Next, we mount your laser cut logo on a 1/4" thick acrylic sheet. Choose from one of our acrylic base options below and select your logo color. Includes standoff hardware, screws, and appropriate holes cut in sign. For interior use only.
Couldn't load pickup availability
How To Order
How To Order
We offer 1-on-1 personalized experiences to all of our clients. To begin the ordering process:
1. Select your size, color, and hardware customizations from the menu above. Not 100% sure what you like? Start with your favorite options for now.
2. Upload your logo or graphic (if you have one). Vector files (.ai .eps .pdf .svg) are preferred. We can also work with a different file type with high resolution
3. Once you have placed your order, one of our customer experience specialists will reach out to you via email within 1-2 business days to answer and questions and finalize details.
4. Then, we will create a digital proof of your sign for review. If you were unsure about any of your customization options at checkout, this is the time where you can adjust, compare, and make your final decision. We will not laser cut anything until the design is approved.
Materials
Materials
Lettering: Wood composite. All of our lettering materials come in either ¼” and 1/8” thicknesses, which we have the ability stack to different depths based on size and design.
Backing: ¼” standard acrylic
Mounting Instructions
Mounting Instructions
Standoff hardware and pre-drilled holes are included with every order to easily and accurately mount your sign.
1. Line up the sign with the wall. Using the pre-drilled holes as a guide, mark on the wall where the wall screws will go. Use a level to ensure that the sign will be straight.
2. Next, install the drywall anchors. (We provide self-drilling threaded anchors.) With a rubber mallet or hammer, lightly tap the anchor into the wall until you get to the threads.
3. Using a screwdriver, screw the anchor into the wall until the head of the anchor is flush against the drywall. You can also use a drill but be sure to go slow.
4. Then, install the standoffs by first unscrewing the standoff cap from the barrel.
5. Using a screwdriver or drill, screw the wall screws provided through the bottom of the standoff barrels and into the drywall anchors. Place a clear washer on each barrel.
6. Line up the pre-drilled holes on your sign with the four barrels on the wall. Screw the remaining washers and the caps through the signage and into the barrels to safely secure the sign into place.