Wood Painted Backing - 3D Acrylic Lettering
Wood Painted Backing - 3D Acrylic Lettering
The Gold Standard for Outdoor & Indoor Branding
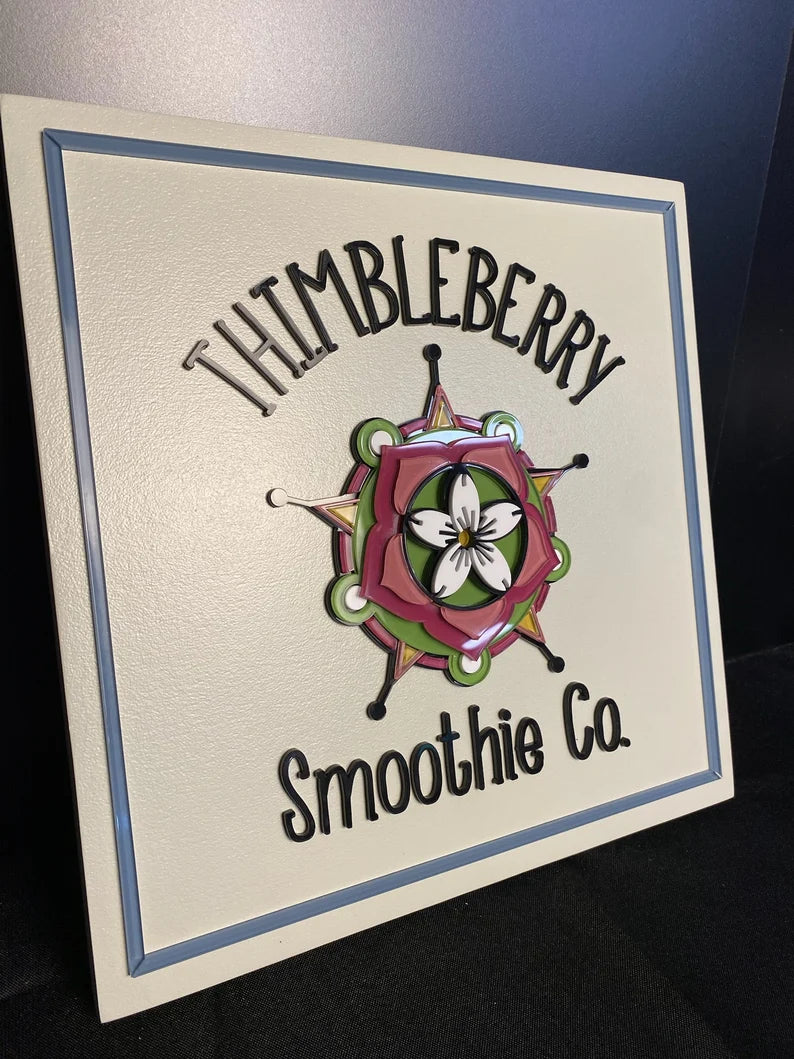
When your brand needs a polished, modern look that can withstand the elements, our Painted Wood & Acrylic Layered Signs are the ultimate solution. We combine the ruggedness of MDO (Medium Density Overlay),a specialized exterior-rated wood, with the vibrant, high-gloss finish of laser-cut acrylic.
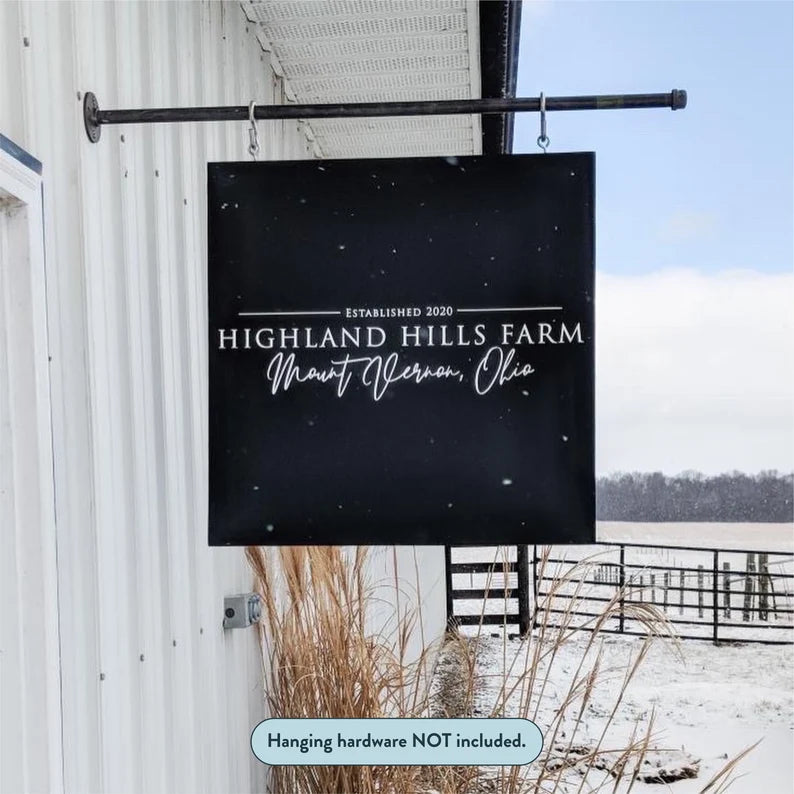
Whether you are mounting your logo on an exposed exterior storefront or a high-traffic interior lobby, this sign offers a clean, professional aesthetic with unmatched durability.
High-Contrast Design & Specialty Finishes
- Exterior-Grade MDO Backing: Engineered to resist moisture and warping, our MDO bases provide a smooth, painted finish that looks flawless year-round.
- Vibrant Acrylic Lettering: Your logo is laser-cut from premium acrylic, offering a depth and "pop" that stands out from a distance.
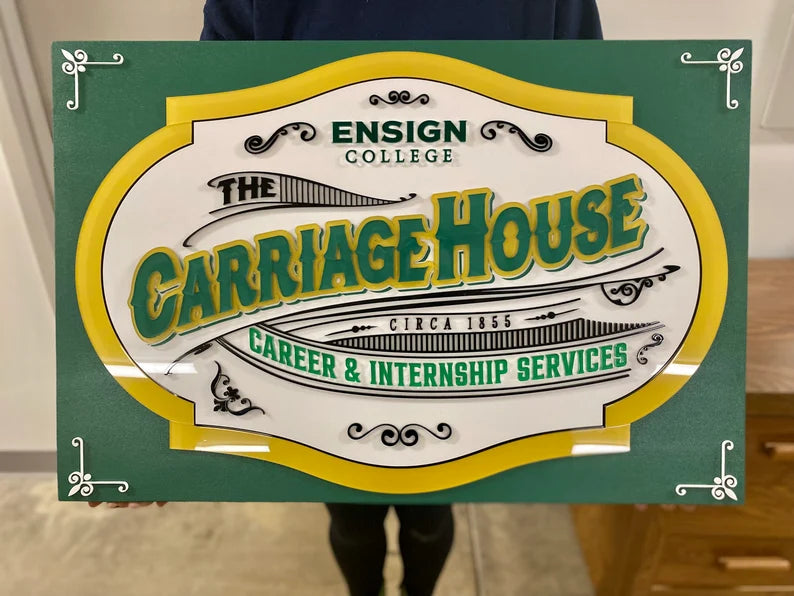
- Specialty Acrylic Options: Choose from high-gloss solid colors, matte finishes, or premium mirrored gold, silver, and rose gold for a luxury touch.
- Bespoke Shapes: We can produce classic circles and rectangles, or provide a custom contour-cut that follows the exact silhouette of your logo.
Suitable for both interior and exterior use.
Product Specifications & Features
| Feature | Details |
| Backing Material | 1/2" Exterior-Rated MDO Wood (Custom Painted) |
| Lettering Material | 1/4" or 1/8" Premium Optical-Grade Acrylic |
| Environment | Suitable for Interior & Exterior Use |
| Available Shapes | Rectangle, Circle, Square, or Custom Contour |
| Finish | Professional-Grade Paint (Backing) & Polished Acrylic (Logo) |
| Mounting | Sawtooth, Eye Hooks, or Aluminum Standoffs |
The Skyline Experience: Our 1-on-1 Process
We guide you through the customization process to ensure your sign is a perfect reflection of your brand.
- Custom Selection: Pick your dimensions, shape, and mounting hardware.
- Upload Your Logo: We prefer vector files (.AI, .EPS, .SVG, or .PDF) for maximum precision.
- 1-on-1 Consultation: Our specialists review your design to confirm it’s optimized for exterior durability and the acrylic medium.
- Digital Proofing: Receive a mockup for your approval. Nothing is cut until you give the green light.
-
Artisan Construction: Your sign is painted, laser-cut, and hand-assembled in our Pennsylvania workshop.
Frequently Asked Questions
Q: Can this sign really go outside?
A: Yes. By using exterior-rated MDO wood for the backing and high-grade acrylic for the lettering, this sign is specifically designed to handle outdoor exposure, including rain and sun.
Q: What makes this different from the "Wood Lettering" exterior sign?
A: While both use the same exterior-rated MDO backing, this version uses Acrylic for the logo. Acrylic offers a smoother, more "modern" finish than wood, and is available in mirrored and high-gloss options that provide a higher level of contrast and shine.
Q: Can I get my backing in a custom color?
A: Absolutely. We offer standard Black and White, but you can select "Custom Painted" to have the backing matched to your specific brand colors or interior decor.
Q: Which mounting option is best for outdoors?
A: We highly recommend our Standoffs for outdoor use. They provide a high-end "floating" look and allow for airflow behind the sign, which helps protect the mounting surface and the sign itself over time.
Q: Can I mix different acrylic finishes?
A: Yes! If your logo has multiple elements, we can use different acrylic colors or finishes (e.g., a mirrored gold icon with matte black text). Just let us know during the proofing stage.
Q: How long will it take to get my sign?
A: Our standard production time is 3 weeks. This ensures that the exterior paint on the MDO backing is fully cured and the acrylic bonding is permanent, giving you the most durable sign possible.
Couldn't load pickup availability
How To Order
How To Order
We offer 1-on-1 personalized experiences to all of our clients. To begin the ordering process:
1. Select your size, color, and hardware customizations from the menu above. Not 100% sure what you like? Start with your favorite options for now.
2. Upload your logo or graphic (if you have one). Vector files (.ai .eps .pdf .svg) are preferred. We can also work with a different file type with high resolution
3. Once you have placed your order, one of our customer experience specialists will reach out to you via email within 1-2 business days to answer and questions and finalize details.
4. Then, we will create a digital proof of your sign for review. If you were unsure about any of your customization options at checkout, this is the time where you can adjust, compare, and make your final decision. We will not laser cut anything until the design is approved.
Materials
Materials
Lettering: Standard or specialty acrylic (available in brushed, mirrored, glossy, or matte finishes). All of our lettering materials come in either ¼” and 1/8” thicknesses, which we have the ability stack to different depths based on size and design.
Backing: 1/2" birchwood
Mounting Instructions
Mounting Instructions
Standoffs:
1. Line up the sign with the wall. Using the pre-drilled holes as a guide, mark on the wall where the wall screws will go. Use a level to ensure that the sign will be straight.
2. Next, install the drywall anchors. (We provide self-drilling threaded anchors.) With a rubber mallet or hammer, lightly tap the anchor into the wall until you get to the threads.
3. Using a screwdriver, screw the anchor into the wall until the head of the anchor is flush against the drywall. You can also use a drill but be sure to go slow.
4. Then, install the standoffs by first unscrewing the standoff cap from the barrel
5. Using a screwdriver or drill, screw the wall screws provided through the bottom of the standoff barrels and into the drywall anchors. Place a clear washer on each barrel.
6. Line up the pre-drilled holes on your sign with the four barrels on the wall. Screw the remaining washers and the caps through the signage and into the barrels to safely secure the sign into place.
Eye Hooks (2):
1. Mark where you want to insert your eye hooks. Line up your eye hook with your mark, and gently tap the head with a hammer to get the threads to bite into the wood. The hook should remain partially embedded into the wood.
2. To screw it in, push down while you turn it clockwise. (Be careful not to pull it out accidentally.) Once you begin feel resistance from the wood, stop pushing and keep turning until the eye is flush with the wood.
Sawtooth Hangers (2-3):
1. On the back of your sign, measure a horizontal line ¼ of the way down from the top of the sign. Use a t-square or level to ensure that the line is straight. Along this line, mark the center point and 6 inches from each side.
2. Position your sawtooth hangers evenly along this horizontal line. If you have two sawtooth hangers, lay them at the 6-inch point from each side. If you have three hangers, position the remaining hanger directly in the center of line. The sawtooth hardware has a mark in the very center to make it easier to line it up on the back of the frame.
3. When the sawtooth hangers are lined in place, mark the screw holes with a pencil. Then, take the screw line it up with the mark you just made, and gently screw it into place. Try to screw it in as straight as you can.
4. Hold the sign up to the wall, and mark where you want the top of it to rest with pencil or painter's tape. Try to make the mark in the center if you can.
5. Measure down ¼ way down from this point to mark where the sawtooth hangers will line up. Use a level to draw a straight horizontal line. Once again, along this line, mark the center point (if you have three hangers) and 6 inches from each side.
6. Just below the marked lines, hammer a nail down into the wall at a 45-degree angle to provide the most support.