Wood Painted Backing - 3D Wood Lettering
Wood Painted Backing - 3D Wood Lettering
The Ultimate Weather-Resistant Brand Display
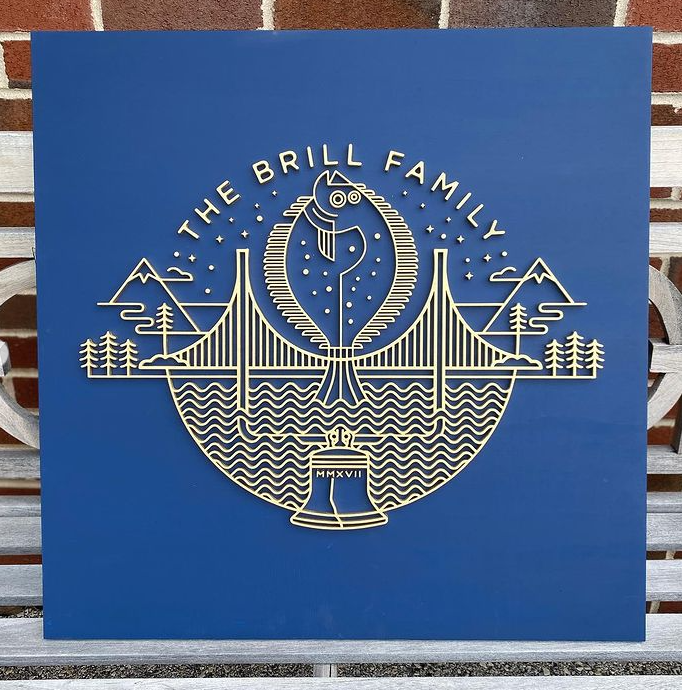
Don't let the elements limit your branding. Our Custom Painted Wood Signs are engineered for durability without sacrificing the artisan aesthetic. By utilizing MDO (Medium Density Overlay),an exterior-rated plywood with a weather-resistant resin-impregnated fiber face. We create a smooth, professional canvas that holds paint perfectly and stands up to the outdoors.
Whether you're branding an outdoor storefront, a garden center, or a high-traffic indoor lobby, these signs provide the 3D "pop" of laser-cut lettering with the ruggedness required for year-round exposure.
Designed for High-Visibility & Customization
- Exterior Grade Foundation: Unlike standard birch, our MDO backing is designed specifically to resist moisture and edge-swelling, making it the ideal choice for outdoor installation.
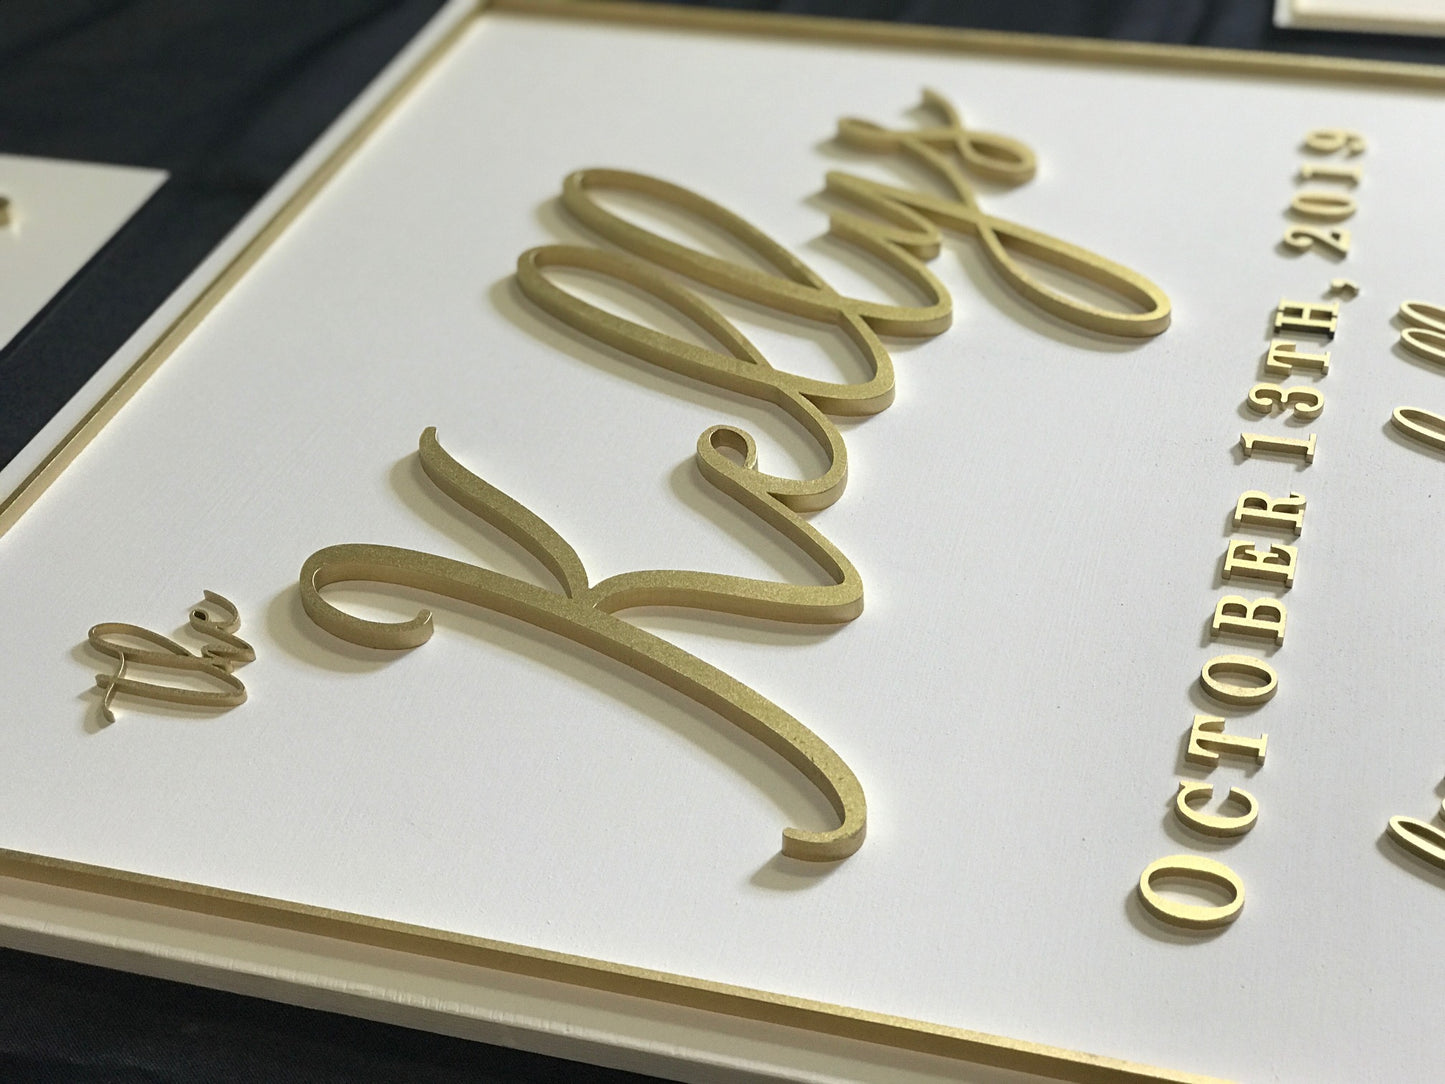
- Dimensional 3D Lettering: Your logo is laser-cut from 1/4” wood composite and mounted to the base, providing structural depth that printed flat signs simply cannot match.
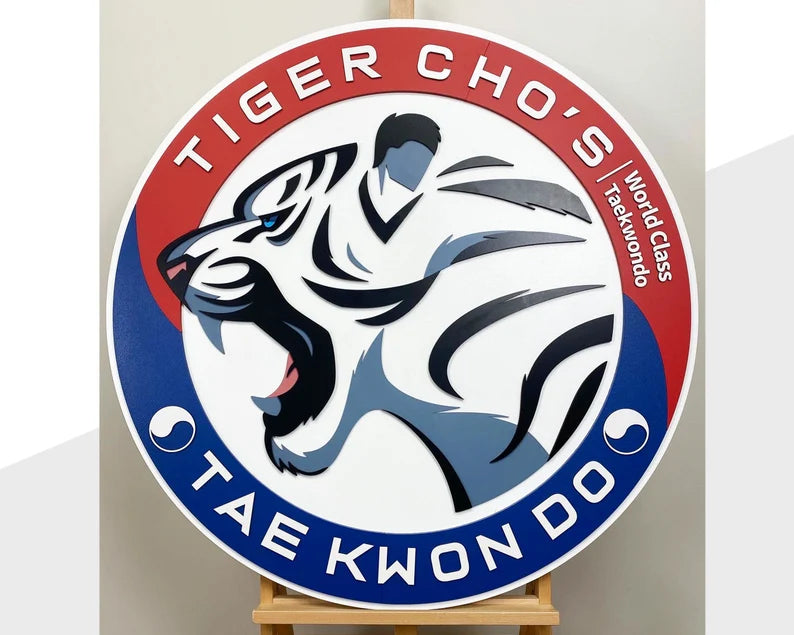
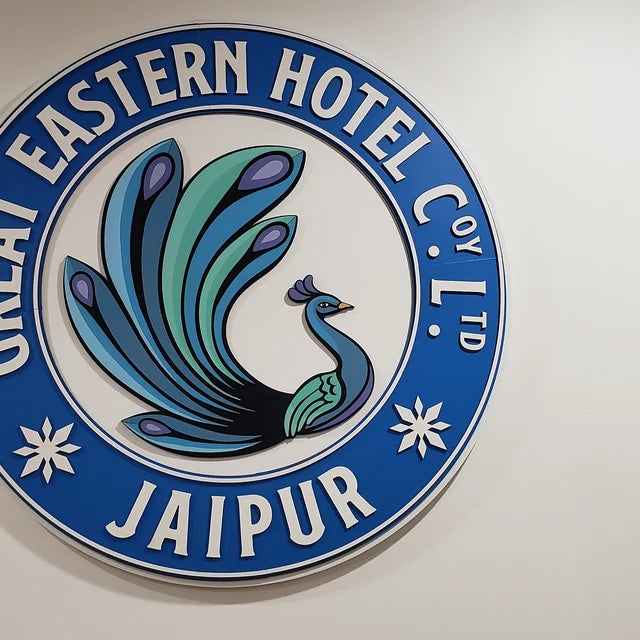
- Precision Color Matching: We paint both the backing and the lettering in the custom colors of your choosing. From bold primary colors to subtle matte tones, we ensure your brand guidelines are followed exactly.
- Any Shape, Any Size: From classic rectangular plaques to custom contour-cut logos that follow the unique silhouette of your artwork.
Product Specifications & Features
| Feature | Details |
| Backing Material | 1/2" Exterior-Rated MDO Wood |
| Lettering Material | 1/4" Precision Laser-Cut Wood Composite |
| Environment | Rated for Both Interior & Exterior Use |
| Available Shapes | Rectangle, Circle, Square, or Custom Contour |
| Finish | Professional-Grade Custom Paint (Backing & Lettering) |
| Production | Hand-Assembled & Finished in the USA |
The Skyline Experience: Our 1-on-1 Process
We take the stress out of custom signage with a collaborative design process.
- Customization: Choose your dimensions, shape, and mounting style.
- Upload: Submit your logo (Vector files preferred: AI, EPS, SVG, or PDF).
- 1-on-1 Consultation: A Skyline specialist reviews your artwork to ensure it's optimized for laser-cutting and exterior longevity.
- Digital Proofing: We send a digital mockup of your sign. Nothing is cut until you approve the design. 5. Craftsmanship: Your sign is painted, assembled, and quality-checked in our Pennsylvania shop before shipping.
Frequently Asked Questions
Q: Is this sign really okay for outdoor use?
A: Yes! This is our premier wooden option for outdoor environments. We use MDO wood, which is specifically engineered for outdoor signs and billboards. When combined with our professional-grade paint finishes, it is designed to withstand sun and rain exposure.
Q: Can I get this in a custom shape other than a rectangle?
A: Absolutely. While rectangles are standard for storefronts, we can cut the backing to be a circle, a hexagon, or even a custom "contour cut" that follows the specific shape of your logo.
Q: How do I choose my paint colors?
A: You can provide specific hex codes or paint brand names in the order notes, or simply upload your logo. During the proofing stage, we will confirm the color selections with you to ensure a perfect match.
Q: What mounting hardware should I use for an outdoor wall?
A: For outdoor brick or siding, we recommend our Standoffs. They provide a secure, professional mount and keep the sign slightly off the wall, allowing for airflow and preventing moisture buildup behind the sign.
Q: Does the paint fade over time?
A: We use high-quality, UV-resistant paints designed for longevity. Like any exterior product, some natural weathering may occur over many years, but our MDO signs are built to maintain their professional look far longer than standard painted wood.
Q: What is the lead time for an exterior sign?
A: Our standard production time is 3 weeks. This allows us to ensure the multiple coats of paint and finish have fully cured, providing the most durable seal possible before the sign is shipped to you.
Couldn't load pickup availability
How To Order
How To Order
We offer 1-on-1 personalized experiences to all of our clients. To begin the ordering process:
1. Select your size, color, and hardware customizations from the menu above. Not 100% sure what you like? Start with your favorite options for now.
2. Upload your logo or graphic (if you have one). Vector files (.ai .eps .pdf .svg) are preferred. We can also work with a different file type with high resolution
3. Once you have placed your order, one of our customer experience specialists will reach out to you via email within 1-2 business days to answer and questions and finalize details.
4. Then, we will create a digital proof of your sign for review. If you were unsure about any of your customization options at checkout, this is the time where you can adjust, compare, and make your final decision. We will not laser cut anything until the design is approved.
Materials
Materials
Lettering: Wood composite. All of our lettering materials come in either ¼” and 1/8” thicknesses, which we have the ability stack to different depths based on size and design.
Backing: 1/2" birchwood
Mounting Instructions
Mounting Instructions
Standoffs:
1. Line up the sign with the wall. Using the pre-drilled holes as a guide, mark on the wall where the wall screws will go. Use a level to ensure that the sign will be straight.
2. Next, install the drywall anchors. (We provide self-drilling threaded anchors.) With a rubber mallet or hammer, lightly tap the anchor into the wall until you get to the threads.
3. Using a screwdriver, screw the anchor into the wall until the head of the anchor is flush against the drywall. You can also use a drill but be sure to go slow.
4. Then, install the standoffs by first unscrewing the standoff cap from the barrel
5. Using a screwdriver or drill, screw the wall screws provided through the bottom of the standoff barrels and into the drywall anchors. Place a clear washer on each barrel.
6. Line up the pre-drilled holes on your sign with the four barrels on the wall. Screw the remaining washers and the caps through the signage and into the barrels to safely secure the sign into place.
Eye Hooks (2):
1. Mark where you want to insert your eye hooks. Line up your eye hook with your mark, and gently tap the head with a hammer to get the threads to bite into the wood. The hook should remain partially embedded into the wood.
2. To screw it in, push down while you turn it clockwise. (Be careful not to pull it out accidentally.) Once you begin feel resistance from the wood, stop pushing and keep turning until the eye is flush with the wood.
Sawtooth Hangers (2-3):
1. On the back of your sign, measure a horizontal line ¼ of the way down from the top of the sign. Use a t-square or level to ensure that the line is straight. Along this line, mark the center point and 6 inches from each side.
2. Position your sawtooth hangers evenly along this horizontal line. If you have two sawtooth hangers, lay them at the 6-inch point from each side. If you have three hangers, position the remaining hanger directly in the center of line. The sawtooth hardware has a mark in the very center to make it easier to line it up on the back of the frame.
3. When the sawtooth hangers are lined in place, mark the screw holes with a pencil. Then, take the screw line it up with the mark you just made, and gently screw it into place. Try to screw it in as straight as you can.
4. Hold the sign up to the wall, and mark where you want the top of it to rest with pencil or painter's tape. Try to make the mark in the center if you can.
5. Measure down ¼ way down from this point to mark where the sawtooth hangers will line up. Use a level to draw a straight horizontal line. Once again, along this line, mark the center point (if you have three hangers) and 6 inches from each side.
6. Just below the marked lines, hammer a nail down into the wall at a 45-degree angle to provide the most support.